CSSで 見出しタイトルのデザインを装飾まとめ - ホームページ制作会社 横浜 株式会社ウィル|横浜のホームページ制作会社
11:00〜20:00(平日)
今回は、よく使えそうな見出しタイトルのデザインサンプルをご紹介します。
もちろん、コピペでも使えますす。
サイトのデザインに合わせ、カスタマイズして利用してみて下さい。
*今回は「h2」と想定してご紹介しています。
目次
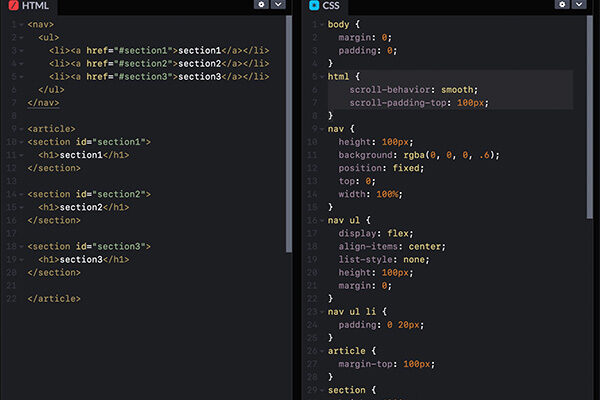
CSSの記述
h2.HalfSingle {
position: relative;
text-align: center;
}
h2.HalfSingle::before {
border-bottom: 8px solid #000;
bottom: -20px;
content: "";
left: 0;
margin: auto;
position: absolute;
right: 0;
top: 0;
width: 200px;
}
HTMLの記述
<h2 class="HalfSingle">見出しの下にテキストより短いライン</h2>CSSの記述
h2.HalfTwin {
position: relative;
text-align: center;
}
h2.HalfTwin::before {
border-bottom: 8px solid #000;
bottom: -20px;
content: "";
left: 0;
margin: auto;
position: absolute;
right: 0;
top: 0;
width: 200px;
}
h2.HalfTwin::after {
border-bottom: 8px solid #ff0000;
bottom: -20px;
content: "";
margin: auto;
position: absolute;
right: 0;
top: 0;
left: 100px;
width: 100px;
}
HTMLの記述
<h2 class=”HalfTwin”>見出しの下にテキストより短い2色ライン</h2>CSSの記述
h2.LineLR {
position: relative;
text-align: center;
}
h2.LineLR span {
position: relative;
z-index: 2;
display: inline-block;
margin: 0 2.5em;
padding: 0 1em;
background-color: #fff;
text-align: left;
}
h2.LineLR::before {
position: absolute;
top: 50%;
z-index: 1;
content: '';
display: block;
width: 100%;
height: 1px;
background-color: #ff0000;
}
HTMLの記述
<h2 class=”LineLR”><span>左右にライン</span></h2>CSSの記述
h2.LongTwin {
position: relative;
padding-bottom: .5em;
border-bottom: 4px solid #ccc;
}
h2.LongTwin::after {
position: absolute;
bottom: -4px;
left: 0;
z-index: 2;
content: '';
width: 20%;
height: 4px;
background-color: #3498db;
}
HTMLの記述
<h2 class="LongTwin">見出しの下に左右いっぱいの2色ライン</h2>CSSの記述
h2.LeftTwin {
  position: relative;
  padding: .25em 0 .5em .75em;
  border-left: 8px solid #ccc;
}
h2.LeftTwin::before {
  position: absolute;
  left: -8px;
  bottom: 0;
  content: '';
  width: 8px;
  height: 50%;
  background-color: #3498db;
}
h2.LeftTwin::after {
  position: absolute;
  left: 0;
  bottom: 0;
  content: '';
  width: 100%;
  height: 0;
}
HTMLの記述
<h2 class="LeftTwin">見出しの左に2色ライン</h2>CSSの記述
h2.Stripe_ti {
color: #fff;
padding: 0.25em 1em;
background: -webkit-repeating-linear-gradient(-45deg, #db2021, #db2021 3px,#d11a1b 3px, #d11a1b 7px);
background: repeating-linear-gradient(-45deg, #db2021, #db2021 3px,#d11a1b 3px, #d11a1b 7px);
}
HTMLの記述
<h2 class="Stripe_ti">見出しに斜線のバックグラウンド</h2>CSSの記述
h2.Stripe_ti2 {
background: -webkit-repeating-linear-gradient(-45deg, #fff, #fff 10px,#ddd 10px, #ddd 20px);
background: repeating-linear-gradient(-45deg, #fff, #fff 10px,#ddd 10px, #ddd 20px);
}
HTMLの記述
<h2 class="Stripe_ti2">太めの斜線バックグラウンド</h2>いかがでしたか。CSSひとつでこんなにも様々なデザインバリエーションを展開できます。
今回紹介したCSSを元にcolorやpaddingなどの変更をご自身で試してみると、勉強になるかと思います。
また、使えそうな見出しタイトルがありましたら、随時追加していきます。